


Introduction: Why Cleaning Your Printer Cartridge Matters
Using and maintaining a printer requires a lot of commitment from the user’s end, starting from keeping the printer cartridges in working condition and cleaning them regularly. A neglected printer cartridge will soon be the reason behind your poor-quality printouts. The University of Arizona found that failing to regularly clean your printer not only decreases the quality of the printouts but reduces the life of the cartridge by 30%. It is, therefore, highly recommended to clean the cartridge regularly.
Imagine getting streaks of faded colors on your important documents. It is indeed frustrating. Cleaning your printer cartridge regularly is bound to keep such issues at bay. Furthermore, doing so will help you avoid unnecessary expenses on new cartridges. In this article, we share some tips on how you can best clean your printer cartridge for crisp and clear printouts.
When to Replace vs. Clean Your Cartridge
Knowing how to replace and clean a printer cartridge is essential for effective output. If prints are coming out incomplete such as faint prints alongside missing colors, then cleaning it would be a great idea. If your prints still do not improve after cleaning the cartridge, a replacement would be ideal.
As a general guide, inkjet cartridges can be replaced after printing 250 to 300 pages while laser toner cartridges can be replaced after 2000 pages of printing.
Thus, it is evident that laser toner cartridges can yield more value per print. Always monitor your print load. If the cleaning method does not help resolve the issue, then it may be time to get a new cartridge.
| Cartridge Type | Page Yield Before Replacement | When to Clean or Replace |
| Inkjet Cartridges | 250–300 pages | Clean if prints are faint, streaked, or colors are missing. |
| Laser Toner Cartridges | 2,000–10,000 pages | Clean if print quality drops; replace when cleaning does not improve quality. |
Step-by-Step Guide: Cleaning Your Printer Cartridge
Essential Tools for Cleaning Printer Cartridges
Make sure to grab the tools before starting the cleaning process:
- Lint-free cloth or any paper towel
- Distilled Water
- Isopropyl Alcohol (90% or Higher)
- Cotton Swabs
- Disposible Glovers (Optional)
Having these will make the overall process of cleaning less tedious and more productive.
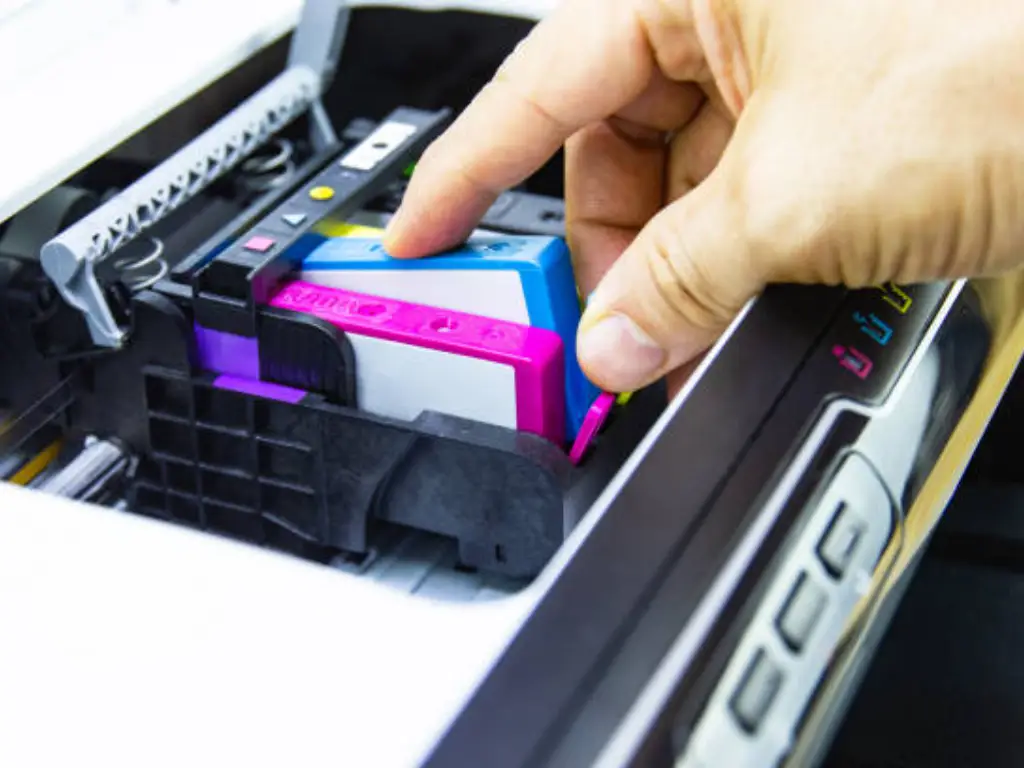
Step 1: Removing the Printer Cartridge
Switch off the printer and gently pull out the plug from its power source. Now have a look at the printer and open the printer cover. Locate the cartridge and pull it out of its slot. Be careful not to touch the exposed electrical contacts or the print head while taking out the cartridge as well.
Step 2: Surface Cleaning for Dried Ink Residue
While the above step is done, take a clean cloth or lint-free paper towel and gently clean the surface to remove all traces of dust and dirt. Remember, do not exert a lot of force as this can destroy the printer cartridge.
Step 3: Cleaning the Print Head and Cartridge Nozzle
Cleaning the cartridge head and nozzle section requires additional effort. You will need to soak a cotton swab in distilled water. If you are not achieving the expected results, use isopropyl alcohol as your cleaning agent. However, be careful not to oversaturate the cotton swab as excess moisture can damage the cartridge. Subsequently, scrub at the printhead to your heart’s delight.
Remember to exercise a lot of caution while performing this step in order to achieve its intended results.
Step 4: Reinstalling the Cartridge and Testing
After removing the print head and cleaning the cotton swab with pure water, let the cartridge air dry completely. After that soak the newly placed cartridge in place. Once it is fully set, close the printer and attach the power source.
After this stage, everything is set for you to attempt printing a test page to check the overall quality post cleaning the print head.
Specialized Cleaning Methods by Cartridge Type
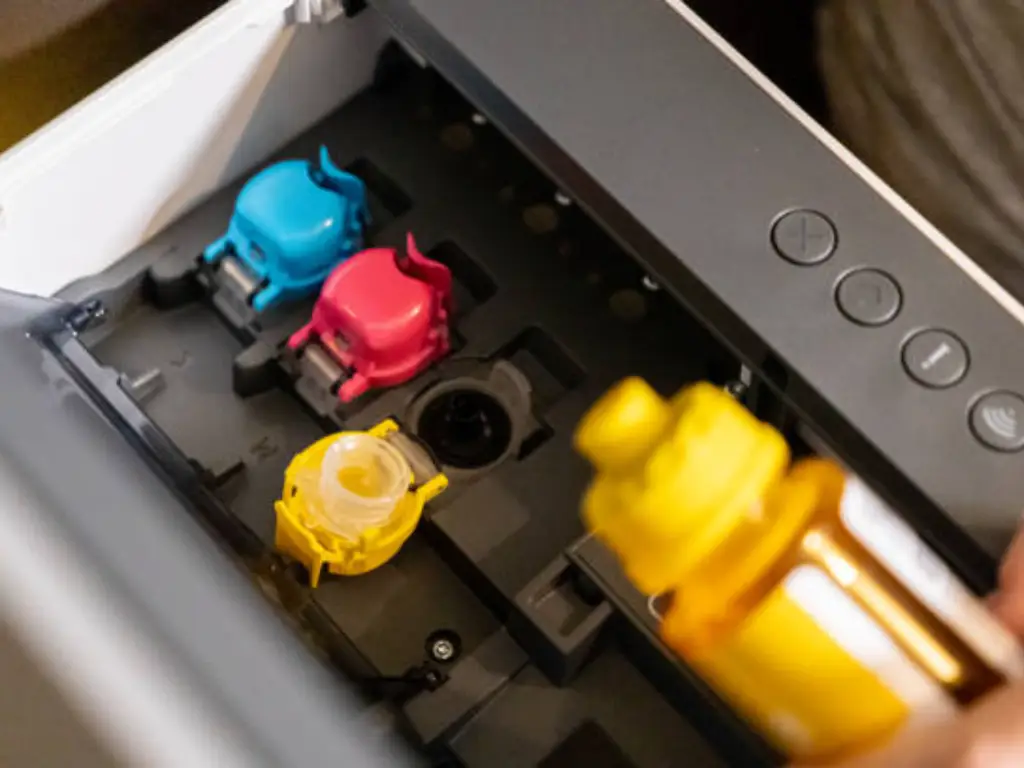
Inkjet Cartridge Cleaning Techniques
Methods of Cleaning an Inkjet Printer Cartridge
For inkjet cartridges, you can turn to your printer’s cleaning function to achieve the unclogging of the nozzles. This feature is available on the control panel of the printer or in the software that came with it. During the cleaning cycle, the nozzles are flushed with printer ink, which helps to dissolve any clogs that might be present.
Cleaning an inkjet cartridge nozzle can be aimed towards
Soaking: Leave the nozzles covered up to 3mm in distilled water or a cleaning solution consisting of half distilled water and half isopropyl alcohol (do not use tap water) for around 10 – 15 minutes. Doing so will allow any residue to become softened enough to be removed. Leaving the cartridge for too long may cause the circuits of the cartridge to burn, which would make it malfunction.
Angle control: During the cleaning, the cartridge’s 45° position should be maintained at all times in order to make sure no liquid will be able to flow back and irreversibly contaminate the internal chip.
Pressure check: Slowly exserted soft tubing-attached syringe’s air into the pressurized print head while pressing the contact suckers. If the ink’s emergence looks even, then unclogging has succeeded.
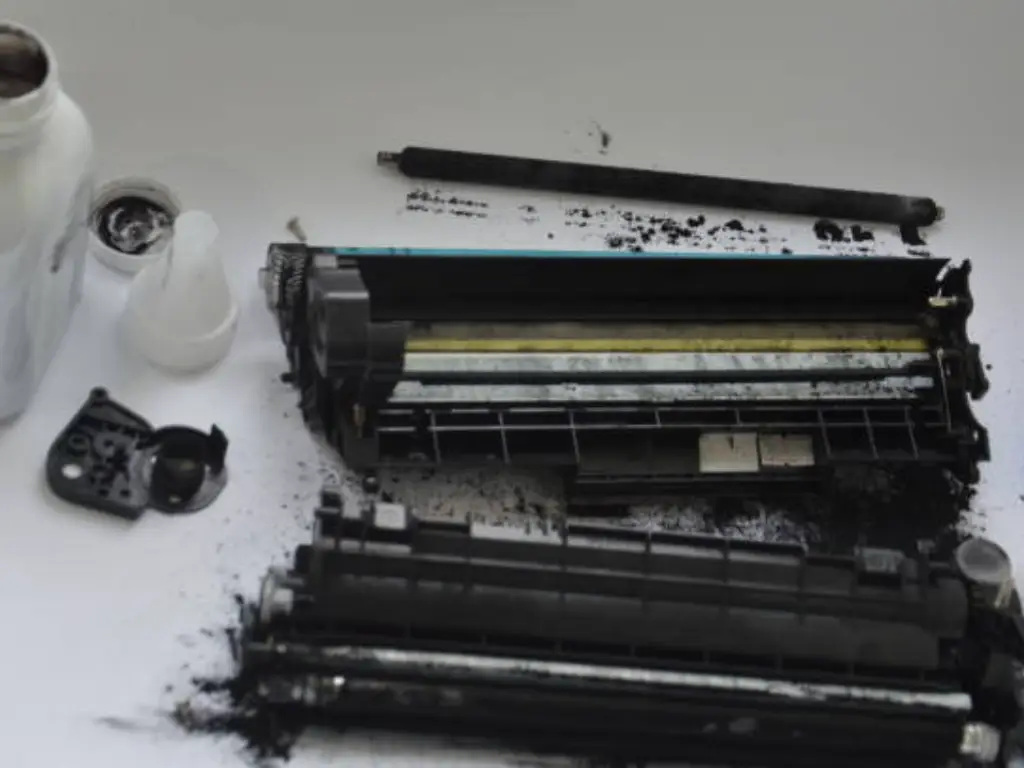
Laser Toner Cartridge Cleaning Techniques
Cleaning laser toner cartridges is an entirely different process. The first step is to take the cartridge out of the printer. Once done, shake it to balance the toner powder. Grab a cloth that does not have any lint and clean the surface of the cartridge, including the drum unit.
Prolonged use of laser toner cartridges may require protection from static electricity and waste toner contamination. Here are some of the most effective methods:
Static protection: Use anti-static gloves while dealing with the cartridge. Before taking the cartridge apart, touch something metallic to get rid of any static charge so that the photosensitive drum is not damaged.
Waste toner compartment cleaning: Use a low-pressure vacuum cleaner or a magnetic wand to pull toner that is left arbitrarily. Regular vacuum cleaners tend to spark, which could potentially ignite the toner dust.
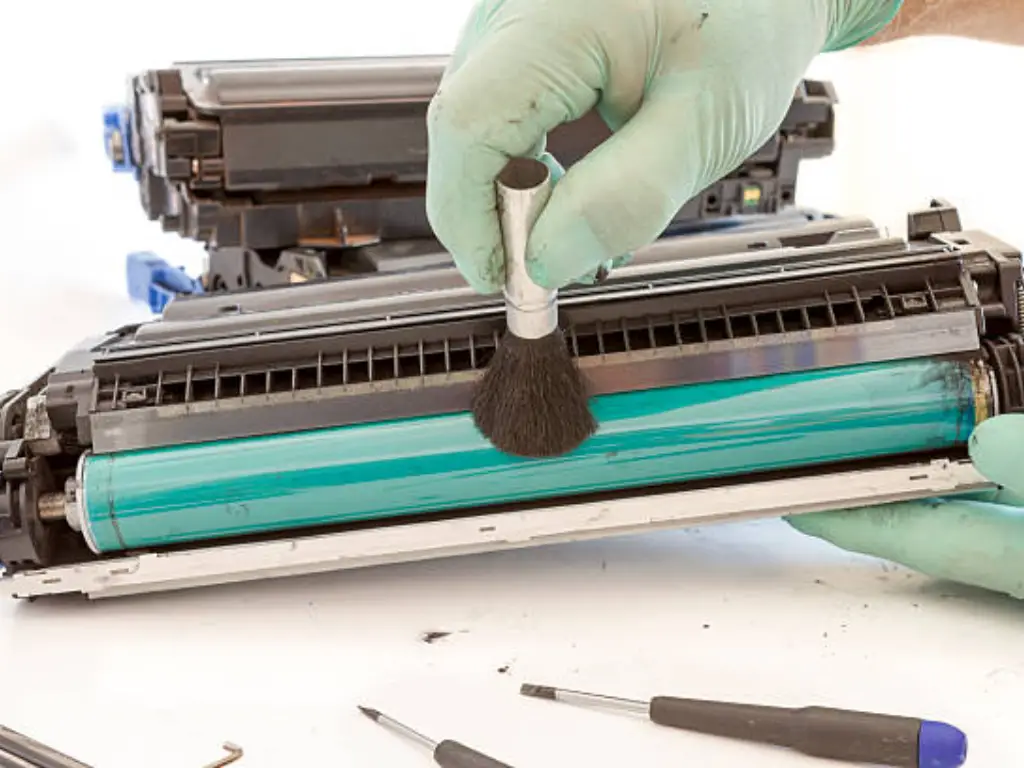
Sealing technique: After cleaning, cover the photosensitive drum with some aluminum foil so that it is light-protected during storage.
If your printouts have spots or streaks, your drum unit probably needs to be cleaned more thoroughly. Check the manual for your printer for instructions because the cleaning tasks could differ from model to model.
Troubleshooting Common Cartridge Cleaning Issues
Dealing with Stubborn Ink Blockages
If you have attempted cleaning the cartridge several times, and still find difficulties with print quality, you could have some resolute ink clogs. In this situation, it would be best to clean the cartridge with a commercial printer cleaning solution. These solutions work significantly better than plain water or alcohol because they help break down clogs of dried ink.
You can also try soaking the cartridge in a mixture of 1 part ammonia to 2 parts distilled water for 10-15 minutes. This could be effective for very stubborn clogs. As with any other solution, do remember to rinse the cartridge before reinstalling it in the printer; this time with distilled water.
Ensuring Proper Cartridge Alignment After Cleaning
After cleaning the cartridge, you need to validate that it is placed in the printer properly; otherwise, it can affect print quality, leading to blurry text or poor colors.
Most printers come with an in-built alignment method, which is accessible from the control panel or accompanying software. Be sure to run this process after cleaning the cartridge so you can yield the best results.
Conclusion
Cleaning your printer cartridge regularly will maintain its print quality and increase its life span. Following the instructions and specialized cleaning techniques for your type of cartridge will allow you to keep your printer cartridges in the best condition possible.
Make sure to clean your printer cartridge when it begins to show signs of poor print quality, but also know when it is time to replace the cartridge. By doing so, you will save money and ensure that your prints look their best.
FAQs:
Can I use any type of alcohol to clean my printer cartridge?
Isopropyl alcohol that is 90% concentrated or higher works best. Anything lower might be unable to dissolve dried ink fully, leading to a residue that would clog the cartridge.
How often should I clean my printer cartridge?
That depends on how much you print and what kind of documents you print. As a rule of thumb, if you print documents regularly, cleaning your cartridges every 2 – 3 months would be ideal. In addition to that, it is best to clean the cartridge whenever the print quality declines.
What should I do if my printer doesn’t recognize the cartridge after cleaning?
Check if the cartridge is aligned correctly and secured inside the printer. If the situation doesn’t get better, consider running the printer’s cartridge recognition or alignment function. If the problem persists, the cartridge is damaged and will need to be replaced.
Can cleaning a printer cartridge improve print quality?
Yes, cleaning a printer cartridge improves its quality. Dried ink, debris, or clogs which can cause streaks, faded colors, or incomplete prints are removed. Moreover, cleaning maintains optimal print results and prolongs the cartridge life.